
Growing Tomatoes from Seed 101
step 1 (Feb/March)
Start tomatoes indoors in a warm, well-lit location. Plant seeds about 1/4 inch deep
in a light weight seed starting mix. For optimum success use a mini-greenhouse - a germination tray with a dome and grow light over it, and a heat matt under it. Water gently and label each variety.
step 2
Seedlings should start to appear by 7 days. The first leaves you will see on any plant are called "baby" or "cotyledon" leaves. The first set of "true" tomato leaves begin to appear above the baby cotyledon leaves. Make sure they are getting lots of light so they don’t grow tall and leggy.
step 3
Once true leaves have emerged on all the seedlings, it's time to transplant seedlings to larger individual containers so they have enough room to properly grow and develop. Gently lift seedlings from below by holding each one gently by their baby cotyledon leaves and scooping up entire soil ball from below using a fork.
step 4
Transplant each seedling into its own container (at least 3-4 in. in diameter) filled with good quality, well moistened potting mix. Make a hole and plant each seedling up to the base of its cotyledon leaves. Tomato seedlings will readily grow new roots along their buried stems and the resulting plants will be sturdy and vigorous. Gently water in the seedlings to settle the plants.
TIPS - at this point make sure your seedlings are getting enough light,
kept warm and resist the urge to fertilize or overwater. All of these factors can stress seedlings. If leaves start to yellow this can be a sign of stress.
step 5 (late May)
Start to acclimate your plants to the outdoor environment by placing your seedlings outside into the sun, first for a few hours each day, then gradually increasing over a weeks' time until they are in full sun all day. This process is called "hardening off" and it avoids transplant shock.
step 6
At transplanting time, if hardened off and young plants are more than 6 in.
tall, remove the bottom branches before planting. New roots will form along the
buried stem giving the plant greater stability.
step 7
Tip out plant by overturning pot to squeeze or tap out the entire root ball.
Settle the seedling into a prepared hole in your pot or garden, so the entire stem will be covered up to where leafy branches begin. Lightly pack soil around the plant and firm.
step 8
Water gently but thoroughly and erect your tomato trellis or cage. Be sure they are well secured, because your plants will grow large and heavy with fruit, so you will need strong support for the branches.
At this point it is helpful to know whether your tomato plant is a determinate or indeterminate variety. Indeterminate plants (aka vine tomatoes) continue to grow taller whereas determinate varieties only grow to a certain height (aka bush tomatoes). For determinate tomatoes a simple tomato cage will do whereas for some of the vining types, taller supports are recommended.
TIP: Make sure the vine-like plants are tied to supports after flowering occurs. Otherwise, the vine will grow along the ground and won't produce healthy tomatoes.
step 9
As the plant begins to mature, the lower leaves will naturally begin to yellow and wilt. This is perfectly normal, so pull these from the plant when they appear. It will keep the plant fresh and help ward off disease.
step 10
Remove remove most of the suckers at the bottom 10" of the plant to invite greater air flow and reduce the risk that fruit will touch the ground where insects and disease might be encouraged. This should also ensure that the majority of the nutrients are sent to the fruits, instead of being wasted on the unwanted growing tips.
step 11
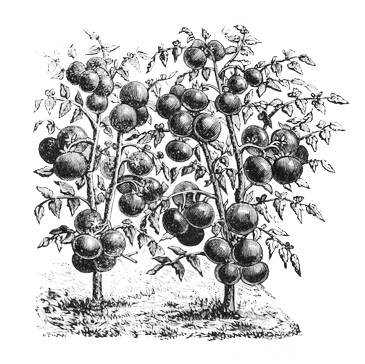
Harvest tomatoes as they ripen. Depending on the variety this can be anywhere from 60 to 80 days from initial planting. Cherry tomatoes will generally be faster.
TIP: Removing new flowers near the end of the growing season can help speed up
the ripening of mature fruit. Green tomatoes can be ripened in a paper bag or.
Alternatively, fried green tomatoes are delicious!
